I have been the recipient of some very generous contributions lately, and one of those gifts came from my sister!
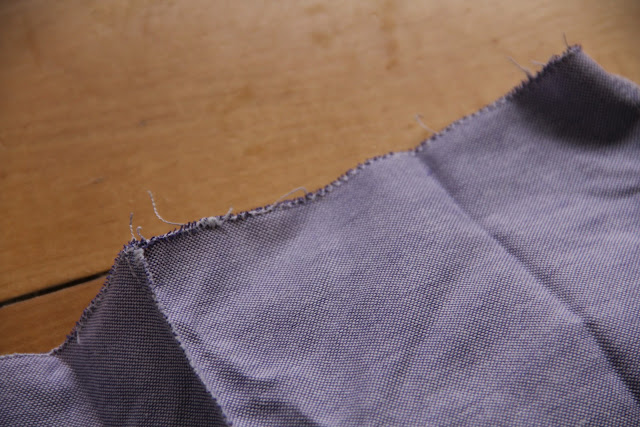
She brought me a small bin of fabric, and we all know about my obsessive love of fabric!
She brought me a small bin of fabric, and we all know about my obsessive love of fabric!
The bin held this intriguing purplish fabric and I knew right away that I wanted to make some poofy pants out of it!
As always, step one is to make a pattern.
I chose a pair of 18 month pants, and added about a 1/2 inch padding as I traced.
I also added a good 2 1/2 inches to the length to ensure that the pants would be nice and poofy even after I made the casing for the elastic.
And I added about 1 1/2 inches to the top of the waist to allow for my elastic there as well.
Make sure to have a pattern piece for the front and the back, and mark them so you remember which is which!
These are all the pieces you will need.
You will need two of your front pieces, and two of your back pieces, as well as four square pocket pieces, mine are 5"x5", and one heart shaped piece.
I used half of a heart shape and cut on the fabric fold to make sure the heart was symmetrical!
I started sewing the pockets first. I pinned two of the square pieces together with right sides facing, and sewed using a 1/2" seam allowance...
I left about a 2" opening along one side so that I could turn it right side out easily...
And I clipped the corners to ensure that once it was turned it would lay flat.
Then I turned the pocket right side out (using a chopstick to get into the corners) and pressed the pocket flat.
Setting the pocket aside, I pinned my pants pieces together along the curved edge with right sides facing.
I then sewed along the edge using a 1/4" seam allowance. (Don't forget to finish those edges!)
Next, I laid the pocket piece on the front of the pant leg positioning it where I wanted it to go, and sewed it in place using a 1/4" seam allowance. (sewing it in place also closed the 2" opening I had used to turn it)
On the rear of the pants (this is why it is important to make a note of which piece is the front and which is the back!) I pinned the heart shape.
I made sure to have it low enough not to interfere with the waist band.
To applique the heart I lengthened my zig zag stitch width while shortening the stitch length.
On my machine a .5 and 4.5 worked nicely, but you may have to play with it a bit to find the combination that works for you.
Once the applique was complete, I set about putting the rest of the pants together!
Placing the front and back pants pieces together with right sides facing, I pinned along the insides of the legs.
I sewed the legs together using a 1/4" seam allowance, and finished it using my basic zig zag stitch.
I then did the same for the outsides of each leg.
When you are matching up the outside of the leg, begin pinning at the waist and work your way down to the hem. If the hem length doesn't exactly match up, don't be afraid to trim it a bit. homemade patterns often need a little adjustment!
The next step is to finish the edges on the waist and both legs...
Then fold the waist down far enough to accommodate your elastic size, plus about a 1/4 inch for a special finish I will explain in a bit!
The legs don't need that extra 1/4", fold them up just enough to accommodate your elastic.
Before inserting the elastic, I sewed all the way around the top of the waist with a 1/4" seam allowance which, once the elastic is inserted will give it a pretty ruffled look.
I decided to conserve elastic and make these pants flat front, so I used a quarter inch seam allowance to sew along the back of the pants only. I used a safety pin to insert the elastic, and sewed the edges in place at the side seams.
We're almost there!
All that needs to be done now is to sew along the edge of your fold for each leg, leaving a small opening so that you can insert your elastic.
When sewing your elastic together, make sure to use the zigzag stitch again so that the elastic will still be able to stretch, and check to be sure that both legs are the same size!
Now all you have to do is sew the opening closed and you're done!
Whoa! Blurry Baby on the run!
Cutest pants ever!
Not to mention that belly!!!
And we just can't get enough of those pockets!
Now go make some of your own!!!


I love them!!! Well done Sess!!!
ReplyDeleteSo adorbs! Love the little heart and pockets! You are making me want to bust out my sewing machine! :)
ReplyDelete