Friday, September 28, 2012

Good Friday!

The day started with a brisk run to school...
Literally,
Noah kept up a swift pace the whole way!
I love that he loves school so much!
Gigi lines up and waves good bye to me almost every time we drop Noah off...
sigh, not yet baby girl!
 Then we were off for a walk through the cool fall air where we ran into this little beauty, 
and an opportunity to practice with my new camera!
Followed by coffee...
With my girls!
And even nap time was super productive!
I finished all of the curtains and slip covers for the cabin...
And managed to make Noah a pj shirt to match his new fleece pj pants!
And lest you should think me too proud...
Ask me if I swept and mopped the kitchen floor like I planned, or folded the laundry, or if I unloaded the dishwasher...
Just remember, this is a Happy Crafty Blog, not an ode to Mr. Clean!  :)


Thursday, September 27, 2012

Veggie Pasta!

It all started with some tomatoes, gifted to me by my good friend Amy!
Since I have no gardening skills of my own, it is good that I have so many talented and generous friends!
Then I saw this carrot and squash pasta on the shelf at target and the meal began to come together in my mind!


Kind of fun to watch Gigi try to figure out how to get the box open!
So, what you need:
 
1 head of broccoli
3-4 tomatoes
2 cloves of garlic
1/2 red onion
2-3 tblsp olive oil
1/2 tsp butter
salt and pepper to taste
1 box carrot/squash farfalle
Feta
Get your pasta into salted boiling water!
And draft your helpers to get that garlic minced!
Heat the olive oil over medium heat, and toss in your chopped onion, let it saute for a minute or two, and add your garlic.
The smell is out of this world!
Chop your broccoli into bite sized pieces, and toss it in as well!
Add your 1/2 tsp butter, chopped tomatoes, and salt and pepper...
gorgeous!
Toss in your pasta once it is ready, top it with a little Feta cheese, and dig in!
And Look who stopped in at the last minute to mooch some dinner from big sis!


Wednesday, September 26, 2012

It's a Pillow Makeover!

You know that ugly pillow that has sat on your couch for years?
Tada!  It is ugly no longer!
And it only took 15 minutes, and one piece of fabric!
Begin by measuring your pillow from side seam to side seam, and add 1/2 inch for seam allowance.
My pillow measured 15", so the final width was 15 1/2".
The fabric piece you cut should be 15 1/2" (or the width you measured)
And 2 1/2x 15 1/2" in length.
Finish the edges all the way around your fabric piece.
turn the fabric over so that the right side is facing away from you, then fold down the top edge of the fabric by about 2", and sew it in place using a 1/4" seam allowance.
Now turn the fabric piece back over so that the right side is facing up.
Fold the top edge (the edge you just hemmed) down toward the center of the fabric.
Then fold the bottom edge up to until the folded piece measures 15" (or the width you need)
Pin the sides making sure to capture all the layers, and sew down each side using a 1/4" seam allowance.
Now turn the piece right side out and you have a nifty pillow envelope!
Simply slide your pillow inside, the cover should fit snug, so you might have to do a little maneuvering!
And voila!  Your pillow is no longer ugly!
It's a really simple way to change the look and feel of your room, add a pop of color, or hide that ugly juice stain courtesy of your oldest child!


Tuesday, September 25, 2012

It's Curtains!...For My Mom!

Ok, so my dad has a cabin in the mountains...
And it's basically a no running water, bucket flush, man oasis!
Ignore the blurry baby, and you get the general idea!
Except recently my dad has begun making improvements in order to persuade my mom that it can be a Woman's oasis too.
Long story short, the cabin now has solar power, some new furniture, and, once I finish them, curtains!  (yes, sadly there is still no running water)
And, I thought I'd share my curtain making methods with you!
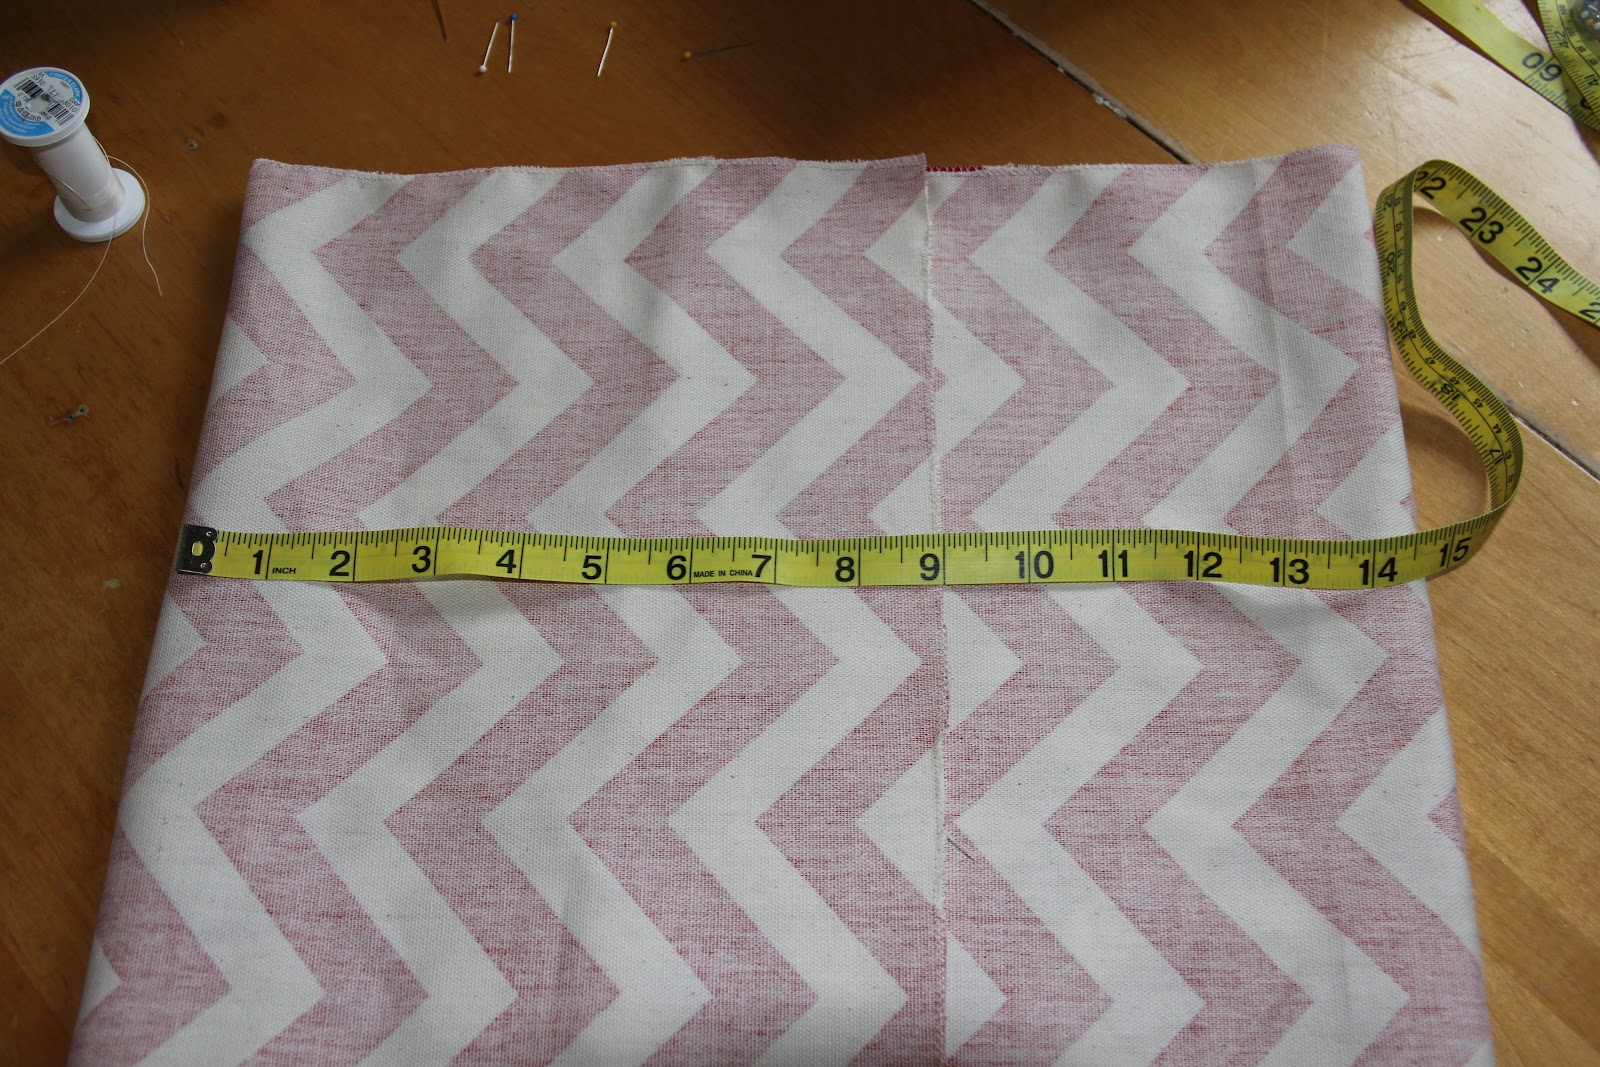
The first step is to get your measurements...
Once you get your width measured, add an inch (for hemming the sides and hiding the rough edges)
And once you get your height measurement, add anywhere from 3-5" depending on the curtain rod size and hem length desired. 
 (I added 5" 3" for rod space, and 2" for the hem)
Now you need to finish all the edges with a zig zag stitch or serger.
I am working with a heavier fabric, twill, and while it is more durable than cotton, it frays much more easily, so this step is especially important!
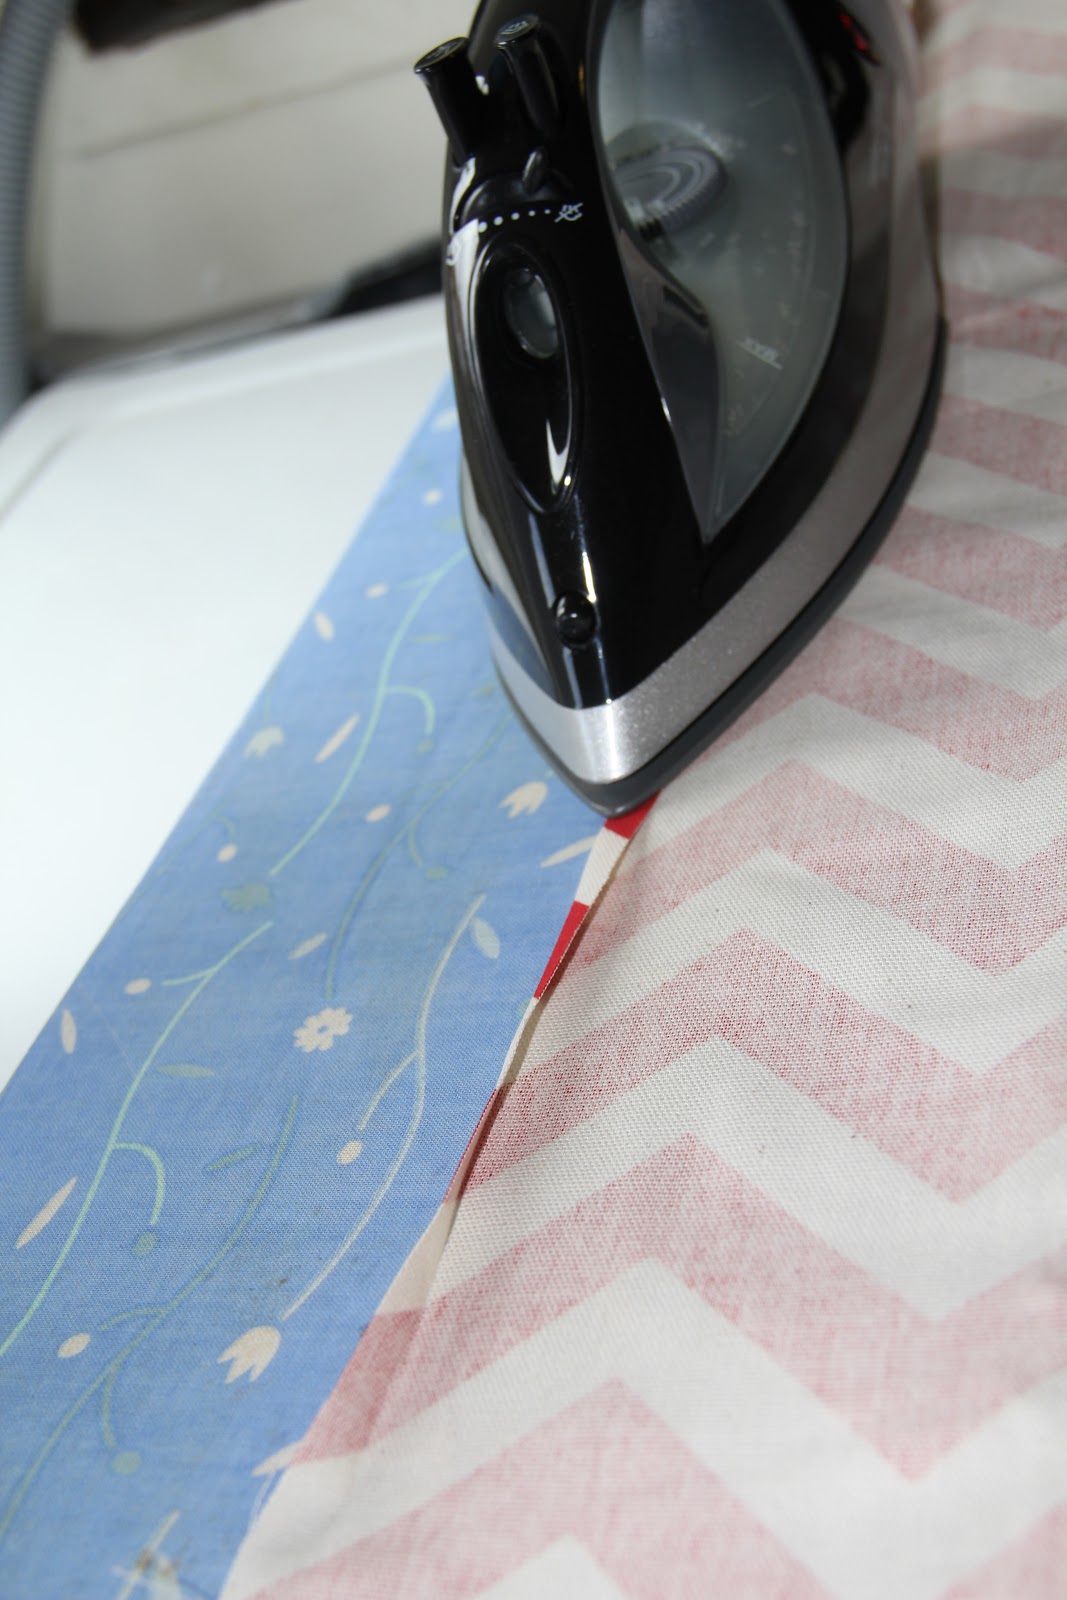
Then you want to fold over the side edges by 1/2" and press them. 
And sew them in place using a 1/4" seam allowance.
(And if you are noticing in the picture that the edge is not finished...yes, I forgot...learn from my mistakes people!)
Once the sides have been sewn, you will want to fold the top edge down 3" (or however much you determined you needed for the rod) and press.
You can also go ahead and fold and press the hem at this point. (my hem was 2")
When you sew the top edge, you want to make sure that you sew leaving enough room for your rod to slide through.
Like sew...small humor :)
Hem, and your done!
You made curtains!
What's that?  You like my pillow?
Tune in tomorrow for a tutorial on how to cover an ugly pillow, no zippers, no buttons, no hand sewing!
And it only takes one piece of fabric!


Monday, September 24, 2012

The Pajama Factory!

It was all about the pajamas again today!
I was churning out pajama pants like a factory...
 I purchased a couple of fleece fabric remnants a few weeks ago, and I decided it was time to get them out.
The really cool thing about fleece is that it won't fray...
Which means that you don't have to waste time finishing those edges!
Which makes the easy pj pants (click HERE for the tutorial) crazy easy, allowing you to make 3 pairs in one nap time instead of just one!
But, the coolest project of the day was this simple owl applique!
Taking one of Noah's old plain white T's, I cut out a single owl from the left over fleece scraps.
To find the middle of the shirt, I just folded it in half and pinned the owl in place.
Remember that zig zag stitch? 
I used it to sew all the way around the owl, thereby attaching it to the shirt and creating a simple, fabulous, and Sew Unique little pajama top!
Gigi thought it was a great idea and demanded to wear it at once!
 Noah liked his pants too...
So we basically just had one big pajama party all afternoon!

I love days like this!