
Even though I didn't make it to the second round of the Sew-vivor competition, I'm still a winner because I created this gorgeous emerald romper for Gigi just in time for Spring and St Pat's and you win too because I managed to put together a tutorial to share!
(Even if you aren't interested in making your own, stick around for the super cute Gigi photos at the end of the post!)
 Forgive me, Kermit, but it is glorious being green!
(Even if you aren't interested in making your own, stick around for the super cute Gigi photos at the end of the post!)


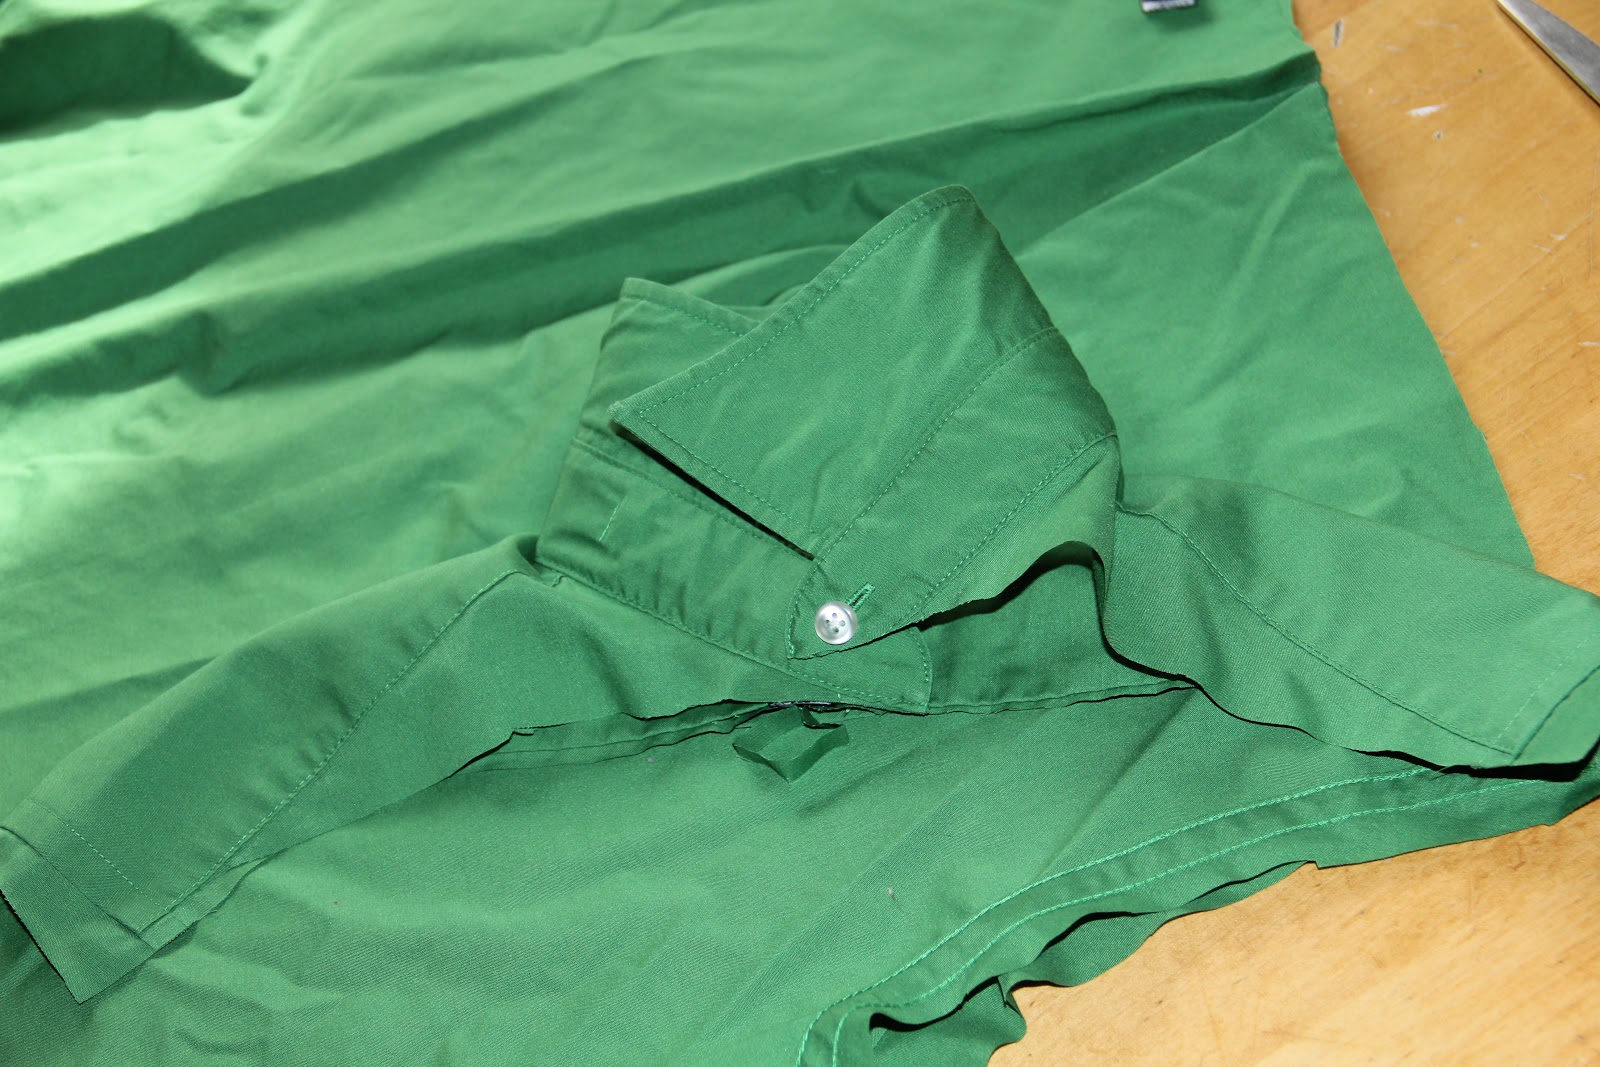
Surprise! It all starts with this...an emerald green dress shirt donated to me by Grandpa Painter!
 But we'll get back to the dress shirt in a moment, first we must make a pattern!
Take a pair of shorts and trace them (front and back) being sure to add a 1/2" for seam allowance. Then extend the lines from the waist up (I measured the length of Gigi's torso and added 2" so it would be nice and loose)
 Cut the pieces apart so that you have the shorts section and the top section...
 Create the other half of the top piece so that it looks like the picture above...
 make a small rounded cut for the arms (we will be making a stretchy neckline that will also be the top portion of the sleeve, so there will be some forgiveness here even if you make the arm hole a bit small)
 Ok, time to perform a little surgery on that dress shirt!
Start by carefully removing the pocket with your seam ripper...
 Then go ahead and cut the shoulders and neck away...
 next pin and cut your shorts pieces from the bottom portion of the shirt...
 I wanted to use the existing hemline from the dress shirt so I pinned the pattern pieces to the shirt where I wanted the hem to be...
 Return to the upper portion of the shirt and sew both sides of the button opening closed.
For some reason I didn't take a picture of the next step, but it is very simple, place your top pattern piece on the upper part of the dress shirt, being sure to line up the center with those buttons, and cut the front and back pieces out...


Take a pair of shorts and trace them (front and back) being sure to add a 1/2" for seam allowance. Then extend the lines from the waist up (I measured the length of Gigi's torso and added 2" so it would be nice and loose)


Start by carefully removing the pocket with your seam ripper...


For some reason I didn't take a picture of the next step, but it is very simple, place your top pattern piece on the upper part of the dress shirt, being sure to line up the center with those buttons, and cut the front and back pieces out...

Pin and sew along the curved edge of both shorts pieces...

Open them up and laying the right sides facing, pin along the waistline...
Make sure you pin the back shorts piece to the back top piece and the front to the front :)

Now lay your front piece on your back piece with right sides facing and pin and sew up the sides!

Now all you need to do is pin and sew the inner leg pieces together!

Time to make the neckline and the sleeve finishes!
The neck piece should be about 32-36" long depending on the size of your romper (Mine was a 2t so the neckline was 36")
And simply measure your sleeve opening to get the length for those pieces (Mine were about 8")
Since I wanted to use 1/2" elastic inside the neck piece, I cut my piece about 3 1/2" wide, the sleeve pieces should be considerably thinner, so 1- 11/2" wide is fine.
Now simply press your pieces into bias tape! (Need a refresher on how to make bias tape? Click HERE the instructions will be about halfway down the post)

To attach the sleeve finishes, pin the bias tape all the way along the sleeve opening and sew it in place using a 1/4" seam allowance.

Now, before we attach the neckline we have another small detail to take care of...
the waist!
To cover the seam where the top meets the shorts I created a 2" wide strip long enough to go all the way around the waits and over lap by about 1". The strip should be 2" wide so that when you press the sides under by 1/2" the final piece ends up being 1" wide (like creating bias tape, but stopping before the final step)

Pin and sew the piece in place using 1/4" seam allowance, and leave a 2" opening at the end to allow for elastic insertion this will give some definition to the romper!

And finally, it's neckline time!
Take the two ends of your neck piece and open them up, pin them together with right sides facing (make sure they aren't twisted!) and sew them together, refolding the piece once you're finished...

So now you should have one large circle of bias tape!

pin and sew the tape in place leaving a 2" opening at the back for elastic insertion!

TADA!!!

And what do you think of your new romper, Gigi?...

Lets see that again!

And from the back?

New clothing must always be closely inspected...

And properly accessorized...

But there comes a point where pictures are no longer appreciated...

"Dop, mommy, dop!"
Sigh... :)
Sew cute...the personality of the outfit as well as the model (and of course, the Mommy!) Well done!
ReplyDelete