Labels

All the Bzz (6) Etsy Shop (9) Gift ideas (5) Good to Know (20) Hooks and Needles (4) Kid Stuff (27) Kids Clothes Week Challenge (5) Moments (78) Recipes (25) Sew-vivor (2) Tutorials (36)
Showing posts with label Hooks and Needles. Show all posts

Monday, February 4, 2013

A Little Bit of Knitting...


This post was a long time in the making, I got the pictures taken, and then life happened and I forgot about them, so you may notice that the picture quality is a bit lacking (this was pre-nice camera) and that Gigi looks a wee bit younger here!
Usually I crochet my baby leg warmers, but I have been known to dabble in the world of knitting, and since they came out so darn cute, I thought I'd share the process!
I should preface this by saying that while I will post the "formula" for these leg warmers, it is in no way meant to teach anyone to knit. My mom is the expert, not I! 
I like to use the 5 oz Carron Simply Soft yarn which is super soft as advertised and comes in a variety of colors.  (I went with Grey Heather)  The yarn can be pricey, but most large retailers offer coupons or have decent sales if you're paying attention.  (Also, they have Apps for that!)
For this project I used Size 7 knitting needles, but you can use any size you wish, larger needles will make bulkier leggings and smaller needles will require more stitches. 

The first thing you have to figure out is what size your leggings should be.  For that I cut two pieces of yarn, one I used to measure around the largest part of her leg, the other I used to decide how long they should be. 

Mine ended up being 35 stitches by 60 rows
I cast on 35 then create a pattern by knitting 5 then pearling five
The first 10 rows will be the top of the leg warmer, once you have ten you can begin kintting the bulk of the leg warmer, just knitting, no pearling here :) I did 35 rows.
Once you get through the main body of the legging it's time to start the knitting and pearling pattern again, this time for 16 rows, or whatever amount you determine, just make sure it is more rows than the initial set as this portion will go around the ankle.

Once you cast off make sure to leave an extra long tail of yarn for sewing it all together.

It is tricky to thread a needle with yarn, but it can be done, pick a needle with the largest eye, or you can buy a needle specifically designed for such endeavers.


Fold the leg warmer in half, there is no right or wrong side here, and start sewing it together.


Once your done sewing the seam, slide the needle back up through the stitches and cut off the remaining yarn, this will keep the tail from coming loose and hanging out.

Turn it right side out and voila!  Now go do it again for the other leg!
The knitting process takes a bit longer than crochet, and since I am not a patient individual, I will probably continue to focus on the crocheted version of the baby leg warmer which you can find in my Etsy Shop!


But be sure to give this pattern a try...
I promise it's worth it!

Tuesday, October 30, 2012

The Very Pretty V-Stitch

I recently posted this gorgeous purple cowl to my Etsy Shop, and the reason I'm bringing it up now is that I made it using what is rapidly becoming my favorite crochet stitch, the V-stitch and I wanted to share a quick tutorial on the stitch itself!
(run-on sentence much?!)
It's called the V-stitch because when you crochet two in one on the bottom and leave a space at the top it looks, suprisingly enough, like a V...
I love it because it looks elegant, it adds a slight texture to the cowl, and it's fun to do!
Ok, I'm currently working on the same cowl in a heather grey, so I will be using it to demonstrate the stitch.
To begin you want to create a chain, for instructions on casting on and creating a chain go HERE,
When you are ready to turn, chain three...
yarn over...
skip two stitches and enter through both loops (similar to the way you would for a double crochet)
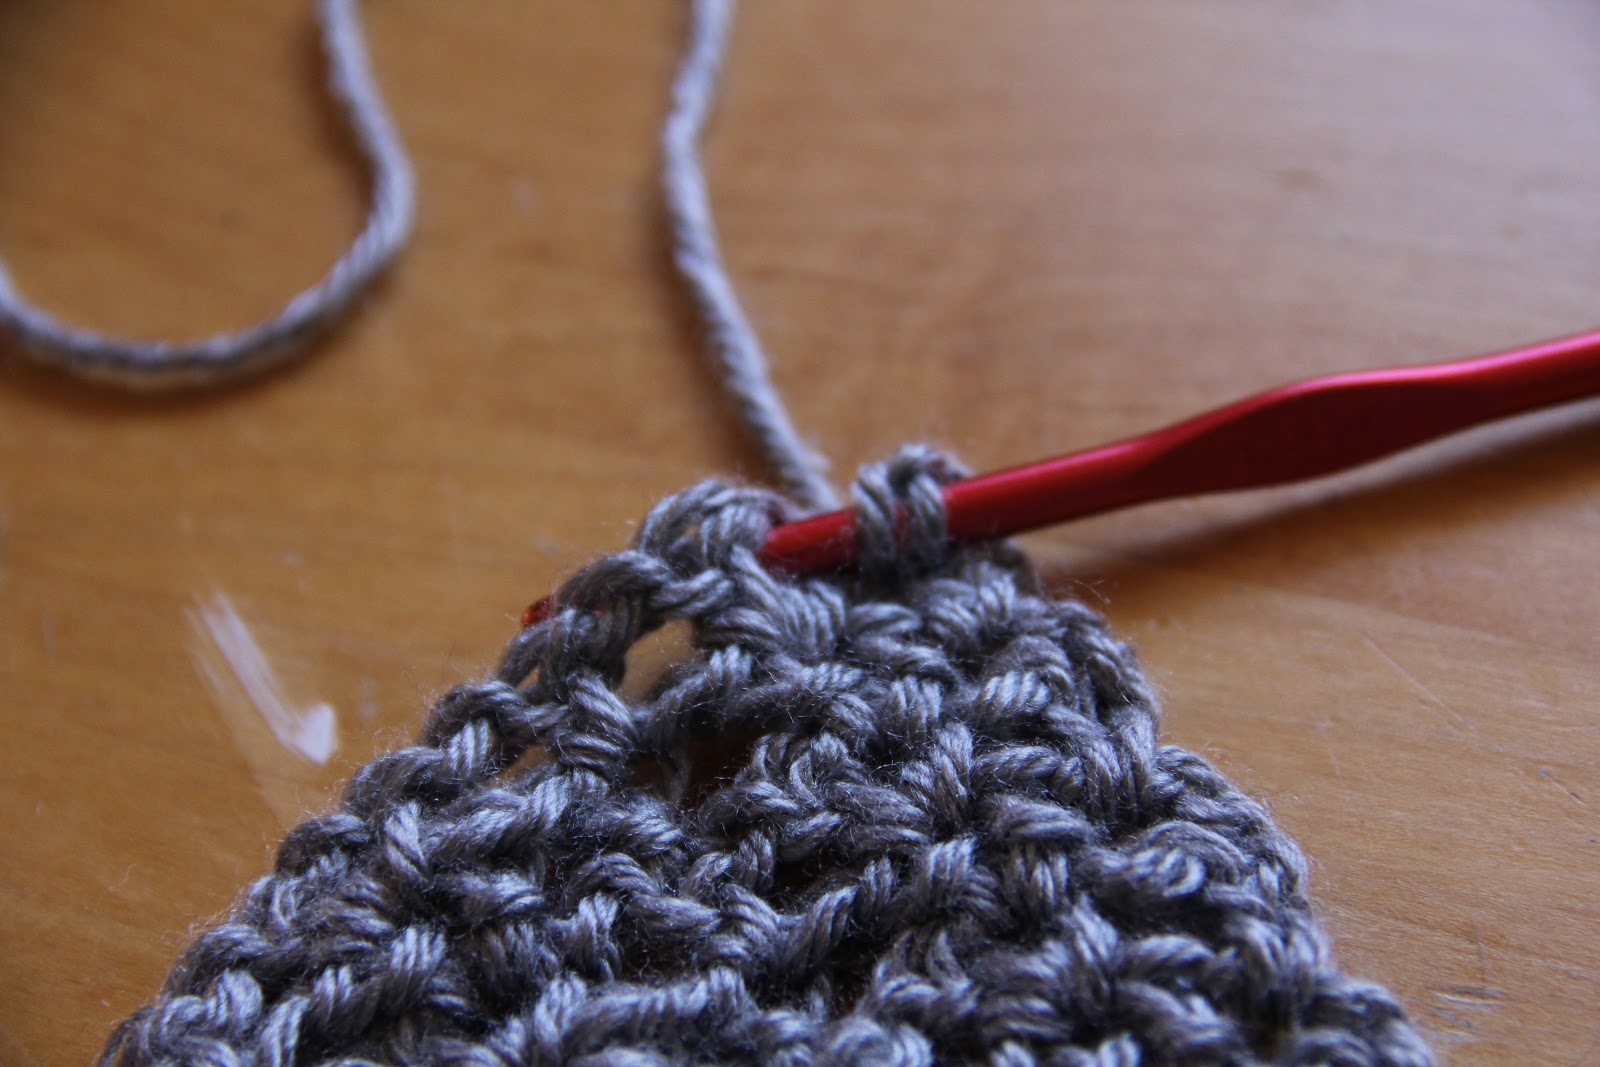
It should look like this, then yarn over again...
And take the center two loops and pull them over the top strand...
It should look like this.
Now you will yarn over one more time, and pull the bottom two loops over the top leaving you with one loop on the hook.
Now chain one...
and yarn over...
Then re-enter in the same place that you did the first stitch.
And repeat the same process as the first stitch.  There is your V!
Now, chain one, skip a stitch, yarn over and enter through the top of the second stitch (again like a double crochet, in fact, this part of the stitch is just like a double crochet) yarn over again and pull the middle two loops over the top.  Yarn over and pull the bottom two loops over the top loop.
Then just repeat and repeat and repeat!
To clarify, the pattern is skip one, v-stitch, skip one, double crochet, over and over!
 The other day I decided to combine the v-stitch with a thicker yarn, the yarn on the right is the standard worsted weight yarn that I normally use.
I love grey, but I wanted a pop of color, so I chose a bright yellow to go with it.
I really like the way it turned out, the heavier yarn is still super soft, but the combination of the heavy yarn and the v-stitch made it chunky and full of texture!
 I'm going to need another one of these babies, but next time I think I'll make it just a little bigger, this one is great, but a little more snug than I generally like.
Still cute, though!


Friday, September 14, 2012

The Sippy Cup Leash!

Sippy cups are the bane of my existence...
we lose them, we drop them, we throw them on the ground...
It's and endless cycle of frustration!
So here is my solution...
The Sippy cup leash!
Gigi loves it so much I had to scramble to get this shot...hence the blurryness!
So, want to make your own?
It's a super easy, 10-15 minute project!
Start by using a piece pf yarn to measure the middle of your sippy cup...
because we want the stitches to be small and tight, we will be using a size F crochet hook!
Then create a chain the same length as your measured string.
If you need a reminder of how to make a chain, reference my cowl tutorial HERE and I'll walk you through it.
Now we will use the Double crochet stitch for the next 5 rows of the leash.
To turn around, chain 3, then skip 2 and enter the third stitch.
For the double crochet stitch, start by yarning over...
Then push the crochet hook through both sides of the stitch...
Then yarn over
Now pull the top yarn (on the left) through the first 3 loops...
This should leave you with 2 loops.  Now you want to yarn over again and pull it through the bottom 2 loops
leaving you with one loop again!
Now repeat over and over until you have 5 rows! Don't forget to chain 3 and skip 2 at the end of every row when you turn around!
Your finished piece should look like this...
Now you need to sew on your button.
Start by sewing one of your yarn "tails" (the left over yarn once you've tied off) and sew it to the middle of one end.
Now sew you button in place.
Use the loop on the other side as a button hole.
Snazzy! 
You're almost there!
Now create a longer chain for the "leash" portion.
You can make it as long or short as you want.
Tie your ends together securely...
And you're done!
Gigi is such a fan...
That she decided to wear it as a necklace!
 Yes!!! Sippy Cup Bling!