Wednesday, October 30, 2013

Because Pizza Tastes Better with a Face!

Need a quick and fun dinner idea?
Something for Halloween night perhaps?
Something the kids will actually eat before hitting the trick-or-treat streets?
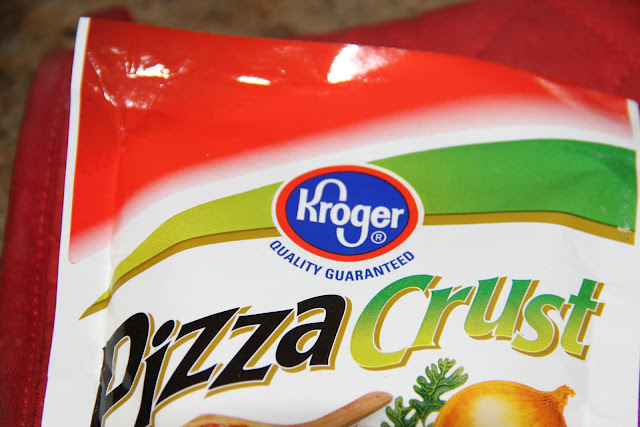
Start with my not so secret go to for pizza, the Kroger brand pizza crust package!
Just follow the instructions on the package and once you have the dough ready, cut it in half and shape one section into a skull...
And one half into a round pumpkin shape!
Then use some olive oil and garlic salt to brush the edges of the pizza, spread some basic marinara or pizza sauce all over, sprinkle with cheese, and use vegetables to create some spooky faces!
Wait for it....
And 10 minutes later you have a dinner the kids will want to eat before they treat!

Tuesday, October 22, 2013

And Boo to You Too!

It all started with a sweatshirt...
Remember the hood less hoody?  Well, I was going somewhere with this, somewhere spooky!
Gigi wanted to be a "Pooky Ghost!" this year, and remembering my successful sweatshirt bat costumes of yesteryear (bat costume tutorial found HERE) I thought I'd go a similar route this year!
The set up for this costume was very similar to the bat wing, I folded a white piece of material in half and lined it up with the sleeve of the sweatshirt from elbow to wrist...
Since sweatshirts are meant to be worn loose, it wasn't a problem to pinch off about 1/4" of the underside of the sleeve to pin my white fabric to.
Then I simply cut the white fabric into strips stopping about 1/2" from the sleeve.  You can call it good at this point, or you can take it a step further and cut strips of your tulle to add a little more pizazz!  (Once you have the sleeves the way you like them, just sew along the top edge making sure to capture the sweatshirt and tulle with the sweatshirt edge)
I then cut the pieces for a cheeky ghost face out of scraps of black felt, and sewed them onto the back of the hood (see, the hood was an essential element of this costume! ;-)
Simple, right?!  But wait, there's more!...
Since this particular ghost is a 2 year old who proclaims herself "pinsess" I couldn't resist adding a bit more flare in the form of this spooktacular (yea I went there) tutu!
I used the same method for making this tutu as I did in my original tutu tutorial found HERE.  The only change I made was to add strips of white fabric through out the tulle to tie it in with the ghostly arms of the sweatshirt.
OH!  And since we are all about the accessories lately, I also added a sweet little white satin bow to the hood!
I just tied a piece of satin ribbon into a bow, used a lighter to melt the edges and prevent fraying, and used a safety pin to attach it to the hood!
Is it cute?
Ummmm, YES!
Is it fun?
Are you serious?!
 Can we see the back?!
OMG!
Nailed it!
But wait!...
Do YOU like it, Gigi?!
Oh YEA!
Now I want one!

Thursday, October 17, 2013

Because Sometimes, You Just Need to put a Hood on it!

You could probably go your whole life and never encounter this problem, but since I did, and I found a solution for it, and the solution only took about 10 minutes to complete, I thought I'd share!
The problem is a having a regular sweatshirt when what you need is a hooded sweatshirt!
Thanks to last year's batty family costume fest...
Many of you are acquainted with my relatively new obsession with sweatshirt costumes...(Find the Bat costume tutorial HERE )  So, when Gigi said she wanted to be a ghost, I immediately launched into action!  The trouble I ran into was in finding a plain white (inexpensive) toddler hooded sweatshirt!
I did find the "unhooded" sweatshirt pictured above, however, and I decided to add a hood myself!
So here is an extremely easy tutorial for adding a hood to a regular sweatshirt...

What you will need:
1 non hooded sweatshirt
1/2 yard material in a matching color (or a large old sweatshirt you are ok cutting up)
basic sewing supplies

Ok, I ended up buying the 1/2 yard of sweatshirt material from JoAnns because I didn't have an existing white sweatshirt to cut apart, but the process would be the same regardless...
Begin by laying out your fabric with the right sides facing, then lay the hood of an existing sweatshirt or jacket in the size you want on top...
Trace the hood being sure to leave an extra inch at the front to allow for finishing the edge.
Next cut out your two hood shaped pieces...
And pin them together along the curved edge, and sew along the curve using a 1/2 inch seam allowance...
The next step is to fold back the front edge (the edge that frames the face) by about an inch and press it down...
Then sew along your pressed edge...
Keeping the hood inside out, turn the sweatshirt inside out as well, and slip the hood inside the shirt...
Pin the hood along the back edge of the sweatshirt making sure to match up the middle of the hood with the center of the back portion of the sweatshirt...
Sew along your pinned edge, turn the whole thing right side out, and...
THAT is how it's done!...
Ghost Costume tutorial coming soon!

Tuesday, October 8, 2013

You Can Find Me in the Pumpkin Patch...

Ask anyone, I love pumpkins!
How could you not?  They taste great as cakes, breads, muffins, cookies, and coffee, but mostly, they are big and orange and bright and happy!!
So, naturally, one of my all time favorite things to do in the fall is to visit a pumpkin patch!
There's the inevitable angst over choosing just the right pumpkin...
There it is!
And the fun of losing yourself in the hay bail maze...
And then there are those obligatory photo opps...
Nope, try again...
No, no, look at me!...
Oh!  So close!
Ugh, I give up! 
Ok, mommy's turn!
One more time...
Everyone is smiling at least?  Ok, I'll take it!
"...and then I was like What's up?! I'm a bat!!"


Hello October!!

By now you may have noticed that...
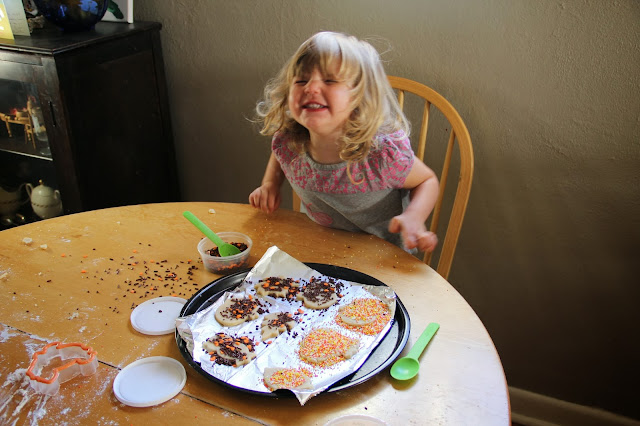
We pretty much like to make cookies for every season...
And really, who can resist bat sprinkles and pumpkin sprinkles, and cookie cutters shaped like witches...
And unidentified orange white and yellow blobs?!!
We don't do it for the glory, or for the sugar rush, or even for the love of fall, we do it...
 For the smiles!!!